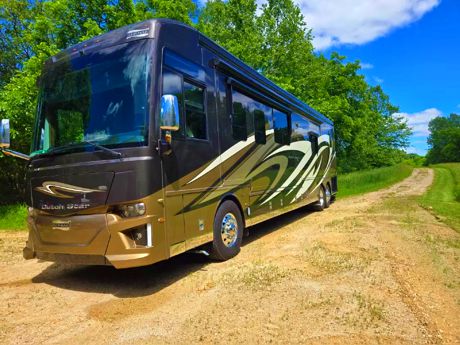
Replacing an RV windshield is a specialized task that requires careful attention to detail and the right tools. The process begins with an initial assessment where one of our network technicians inspects the windshield for damage, determining whether a replacement is necessary. They check for cracks, chips, and the structural integrity of the frame and surrounding seals.
Once confirmed that a replacement is needed, an order is placed with National RV Glass HQ. Our team in Colorado will then source the glass you need, pack, freight, and deliver the glass to your location where our network technicians will install it swiftly and professionally.


The installation of the new windshield involves applying a fresh layer of urethane adhesive to the frame where the windshield will sit. The technician then carefully positions the new windshield using suction cups, ensuring that it is properly aligned. Once in place, they press the windshield firmly into the adhesive to create a strong bond.
Final checks are crucial to ensuring a proper seal. Our technician will verify that the adhesive has formed a complete seal around the windshield before allowing it to cure according to the manufacturer instructions. This typically takes several hours. After the adhesive has set, our technician then cleans up the work area by removing any protective materials, tape, or tools used during the replacement.
